How to Make an Origami Turkey
Learn how to make an origami turkey with these easy-to-follow steps! They make a great Thanksgiving decoration and your kids will have so much fun making their own paper turkeys.

Thanksgiving is a time for family and friends to come together. It can also be a stressful time. Instead of getting overwhelmed trying to entertain your children while cooking up a storm in the kitchen, why not try something new this year?
This origami turkey is a fun craft to do with your kids for Thanksgiving. Just like most papercrafts, the best part is that all you need is a piece of paper and glue!
For younger kids, the accordion folds might be a little difficult, but it's a wonderful opportunity to practice their fine motor skills. My preschooler loved doing the folds over and over until she mastered them.
Your kids will be so proud that they can make an origami turkey and decorate the house with it. Your guests will love seeing the origami turkeys on the table while enjoying the big feast you prepared!
How to Make an Origami Turkey
Materials:
- A square piece of paper
- Glue
Instructions:
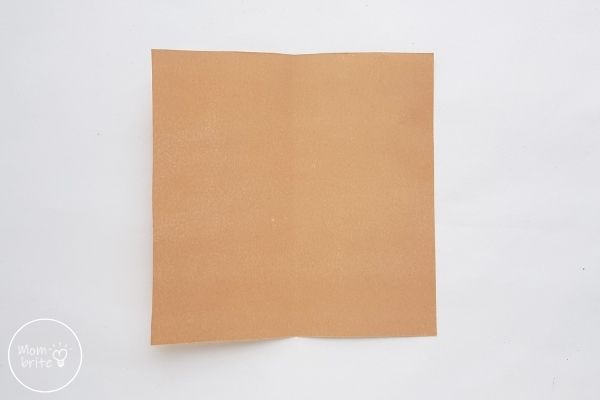
1. Select a square paper for the origami turkey craft. Fold the paper in half and then unfold it. This will create a crease along the middle of the paper.
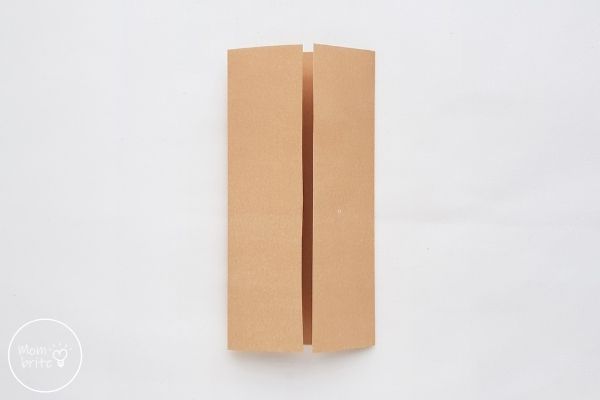
2. Fold both sides of the paper inward by aligning the edges with the middle crease.
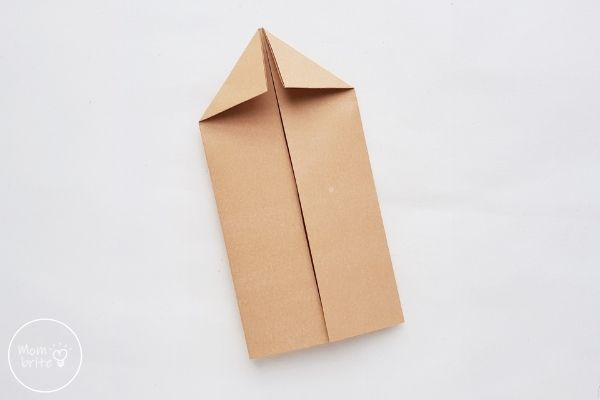
3. Fold the 2 top corners inward, aligning the top edge of the paper with the middle crease.
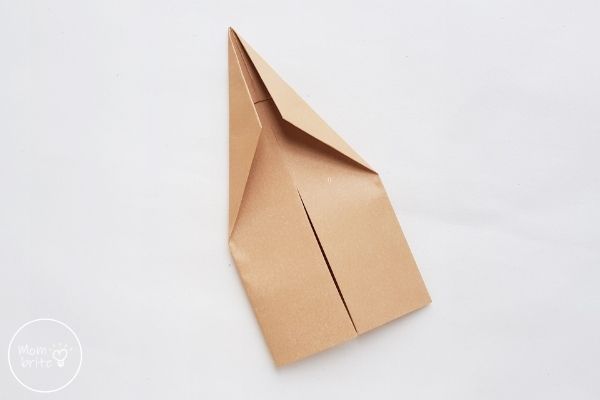
4. Fold the top diagonal sides inward, again aligning it with the middle crease.
5. Flip the whole pattern to the other side.
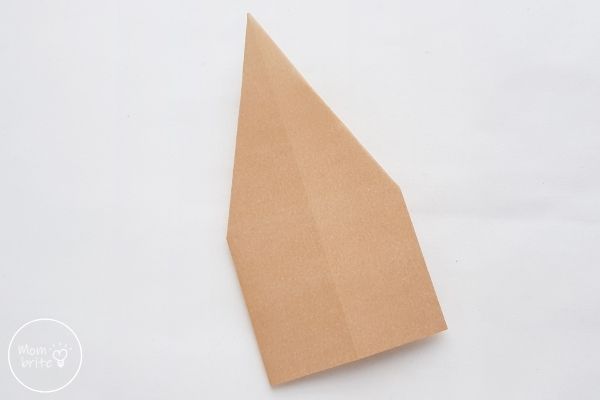
6. Fold the pattern in half.
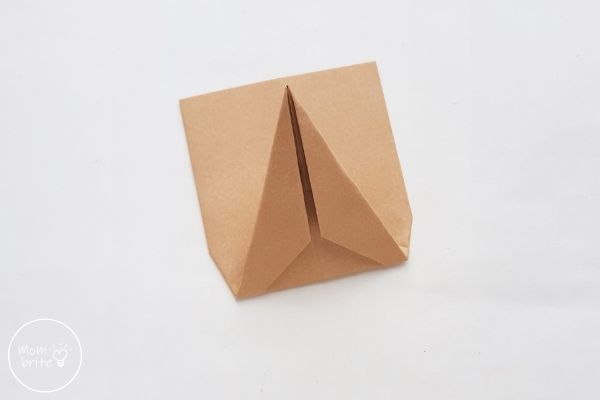
7. Unfold the last fold.
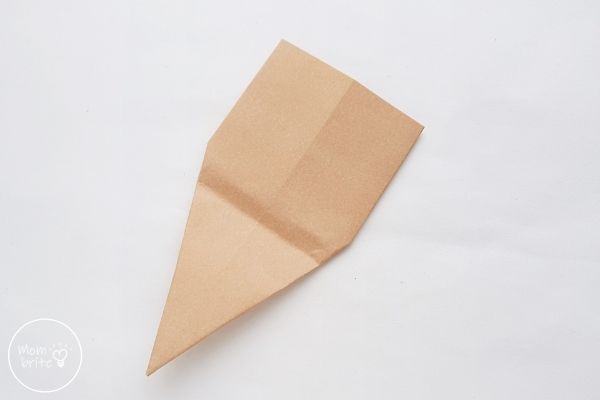
8. Create accordion folds along the square part of the pattern. Stop at the creased line.
If you have questions about how to make accordion folds, you can find more detailed instructions in the origami maple leaf tutorial.
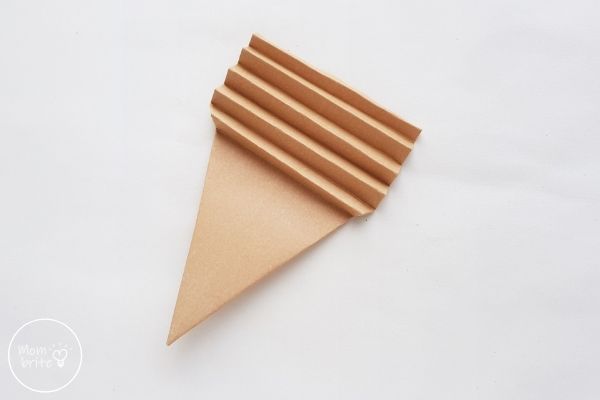
9. Carefully hold the pattern and make a 1 cm fold on the pointy side. This will be the beak of the origami turkey craft.
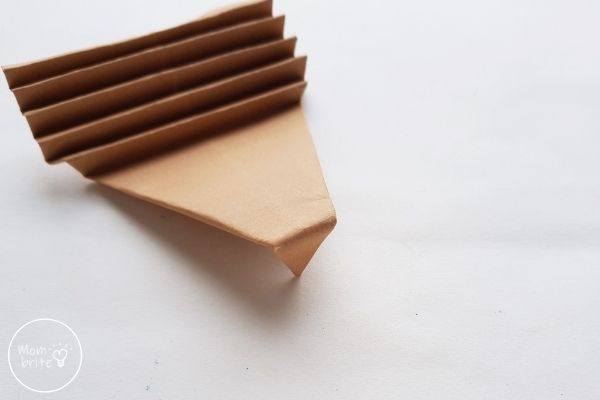
10. Fold the rest of the triangular part of the pattern in half.
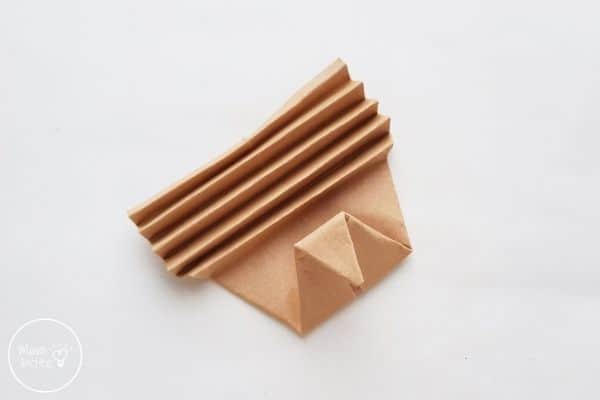
11. Flip the whole pattern over to the other side.
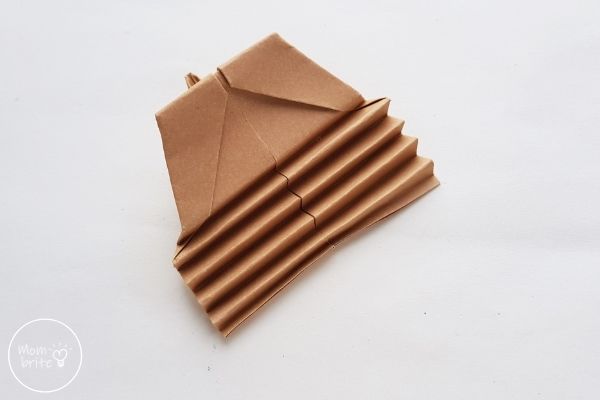
12. Take the bottom part of the triangular portion (beneath the previous fold in step #10) and fold it in half.
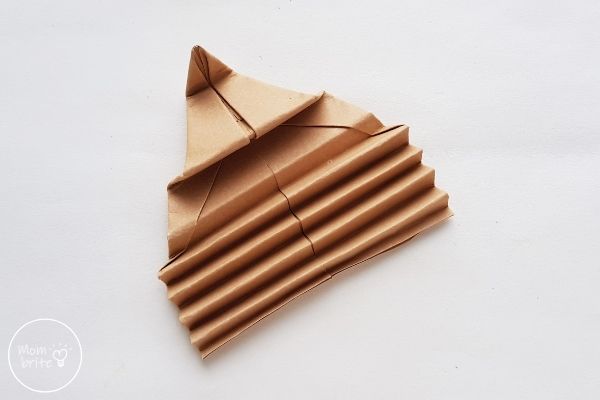
13. The current pattern should look like this from the front side.
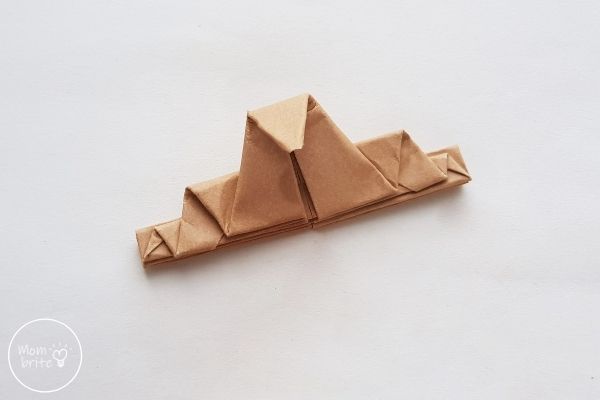
14. Apply glue along the bottom side of the accordion-folded part of the pattern. Fold the pattern in half backward by folding the open end of the accordion-folded part and joining the 2 halves together.
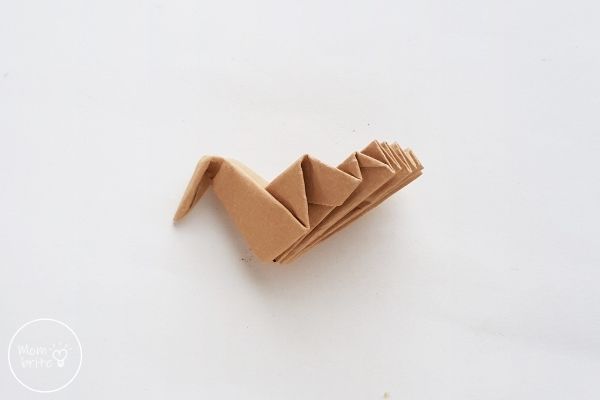
15. Hold the outer edge of the accordion-folded part and carefully draw it upwards; hold the rest of the pattern firmly.
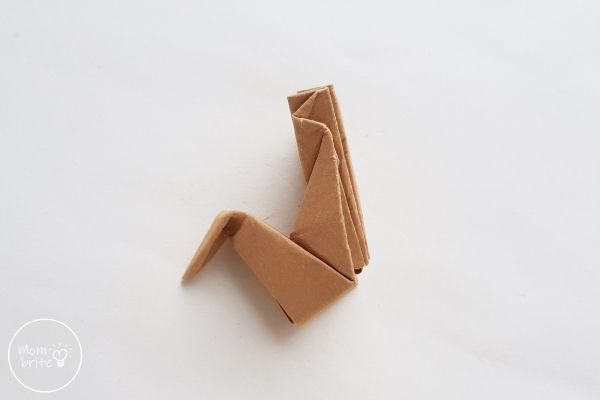
16. Open up the accordion-folded part slightly to create the fanned tail feathers of the origami turkey.
If the backside of the origami turkey is too heavy and keeps falling backward, you can place a block (from your LEGO collection, a piece of eraser, etc.) underneath the fanned tail feathers to support the weight. You can also lean the turkey against the wall or other Thanksgiving decorations on the table.
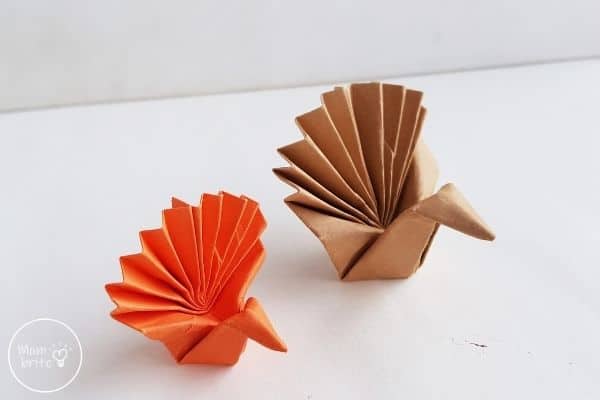
Happy Turkey Day!
Related Posts:
- How to Make an Easy Origami Pumpkin
- How to Make an Origami Maple Leaf
- How to Make a Paper Hat
Source: https://www.mombrite.com/origami-turkey/
0 Response to "How to Make an Origami Turkey"
Post a Comment